Making Wine at Home: Pressing the Grapes

We have already covered:

Step 1: The Equipment: Getting Started – Early October – A list of everything you need to make wine and where to find it.

Step 2: Grape Selection – A guide to choosing the right grape.

Step 3: Sanitizing – The importance of maintaining a clean work area and proper sanitizing procedures.

WINEMAKING (October / November)

Day 1: Sorting and Treading – The first day of the wine-making process, including stomping on the grapes.

Day 3 – 10: Punching and Fermenting – Caring for the grapes, adding nutrients and monitoring the fermentation process.

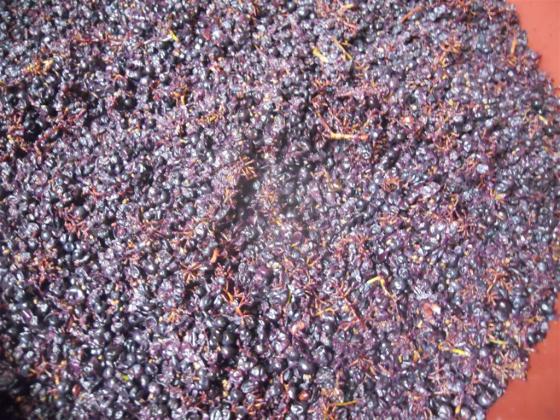
So, you’ve been punching and stirring your grapes 2x day and you’ve been taking a hydrometer reading daily. It can take anywhere from 3 to 26 days for your grapes to be ready.

When the hydrometer reads 0 or – 1… It’s time to Press Those Grapes!

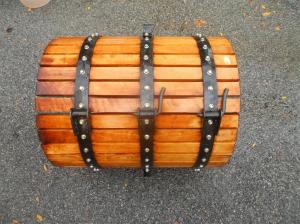
Sanitize the Press:
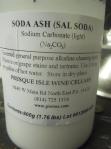
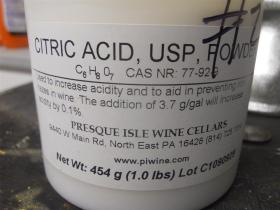
Thoroughly sanitize your press with Soda Ash and Citric Acid.
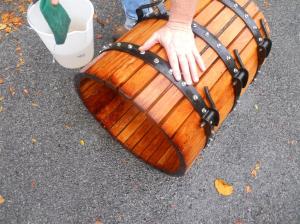
Use 1/4 cup of Soda Ash dissolved in 1 gallon of water. Brush the press clean and then discard the solution and rinse with plain water. Follow the same instructions using the Citric Acid.

Sterile Rinse:
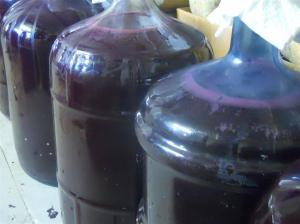
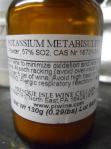
Give the demijohns a sterile rinse by dissolving 4 tablespoons of META in 1 gallon of water. Run this solution through all of the demijohns shaking the bottles as you go. Rinse with plain water.

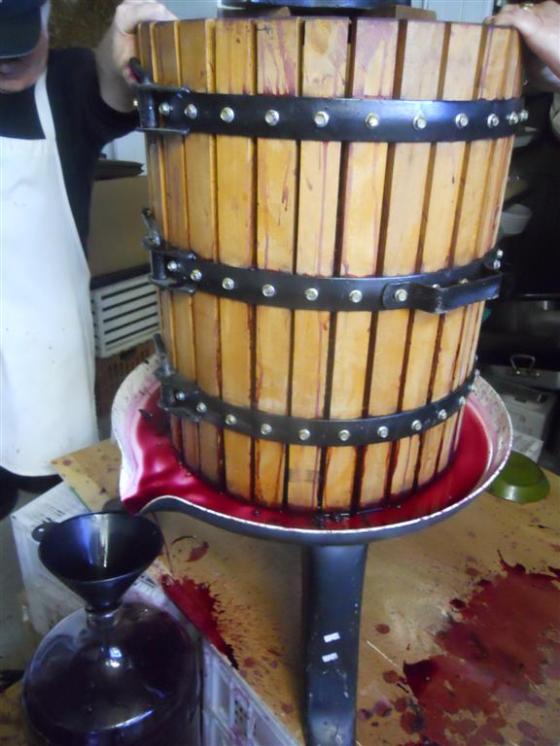
Sit your press on a table with the empty, sanitized demijohns (carboys) on the floor near the press. Place a large funnel into one of the demijohns and sit it directly under the spout of the press so that the juice can fall directly into it.

Using a large pitcher or pail, scoop out some of the grapes and juice and start filling the press. The juice that pours out from the press is called “free run” juice because you have not pressed it yet. This is the best quality so you want to spread it across all of your demijohns evenly. Some of the world’s most respected wineries will use only this “free run” juice for their best or reserve wines and then use the pressed juice for their less expensive wines.

After your vat has been emptied into the press and all the “free run” juice has been spread evenly among all the demijohns you can begin to press the grapes to realease the remaining juice, topping off all of the demijohns. It’s good to have help in doing this so that one person can remove a full demijohn as another person replaces it with a half full demijohn without spilling too much .

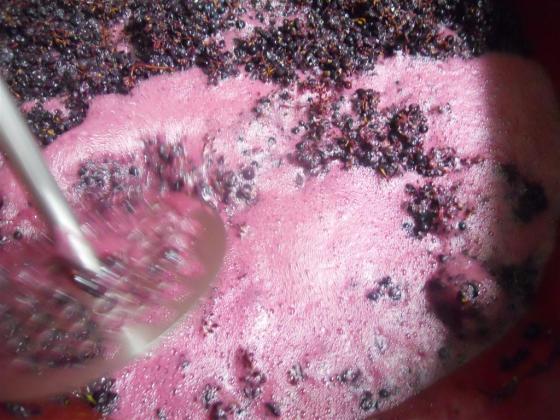
The wine should be very alive at this stage, warm and bubbly…that means it’s fermenting!

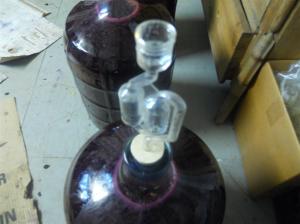
Place a bung into each demijohn and tape it down with clear packing tape. If you don’t tape it down, the natural gases will cause the bung to fly out. Take your sterilized fermentation traps and fill them halfway with water. Poke a hole through the tape and insert a fermentation trap into each bung. The wine will bubble as the gas slowly escapes through the traps.

Place the demijohns in a warm place (65 – 75 degrees) for 7 days to complete the fermentation process.

NB: Thoroughly clean the press and all other tools and equipment.

You can also prepare the wine area for next week’s crucial step of siphoning (racking) the wine to clean demijohns. I’ll also discuss winter storage and cold stabilization.

See you then!

~

© Giovanni Cucullo 2011
Making Wine at Home: Punching & Fermenting

Step 1: The Equipment: Getting Started – Early October – A list of everything you need to make wine and where to find it.

Step 2: Grape Selection – A guide to choosing the right grape.

Step 3: Sanitizing – The importance of maintaining a clean work area and proper sanitizing procedures.

WINEMAKING (October/November)

Day 1: Sorting and Treading – The first day of the wine-making process, including stomping on the grapes.

Today we pick up where we left off…

It’s the day after we sorted and stomped our grapes.

Punching & Fermentation:
Every day, 12 hours apart, punch down the “cap” of grapes (shown above) with the steel puncher or dowel. You must also take a hydrometer reading daily. Punch down 2x day until the hydrometer reads 3% – 5%; that should take 3 – 6 days. The grapes will begin to look like this…Nice!

When the hydrometer reads between 3% and 5% it’s time to add the nutrients to the vat of fermenting grapes.


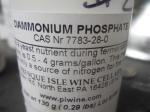
  1. DAP (Fermaid) – dissolve less than 1/2 teaspoon per gallon of potential wine in some warm water and add to the vat
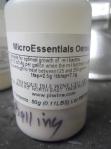
  2. Microessentials – use at a rate of 1/4 teaspoon per gallon. Dissolve in warm water and mix with some of the wine then add to the vat.
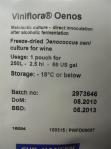
  3. Viniflora – it is very important to keep this refrigerated until use. Add this directly to the vat with minimal air contact; open the package directly into the vat. Immediately punch down the grapes and briefly stir. Wait 2 minutes then punch and stir again. Wait 2 minutes, punch and stir. Repeat this process for 20 minutes.
  4. Cover the vat and continue punching down the cap 2x day. Take a hydrometer reading every day until it reads between 0 and -1.

When the hydrometer reads 0 or -1…It’s Time To Press the Grapes!!

That’s what we’ll do next…Press the Grapes Into Juice.

 ~

© Giovanni Cucullo 2011
Making Wine at Home: Sorting & Treading

We have already covered:

Step 1: The Equipment: Getting Started

Step 2: Grape Selection

Step 3: Sanitizing

And today… we START MAKING WINE!

Procedures

Set up your fermentation vat with lid.


Sorting/De-Stemming:
Sort through all the grapes by hand. Discard any bruised fruit and remove as much stem as possible. For this step we enlisted the help of Andrew (chief oenologist at the Ballinduff Wine Institute). Andrew is world-renowned for his “baby face“; the kind of fella who would happily help two women walk two miles with groceries.

As you can see, Andrew introduced us to this very modern technique of snipping the larger stems off with scissors directly into the vat.

NB: One of the reasons we chose Zinfandel and Syrah was because of its’ resiliency. Theses grapes will not be affected by the few stems that do get into the vat.

If you have a few extra dollars you can purchase an inexpensive machine that will crush and de-stem the grapes for you. If you’re lazy, you can have the grape supplier do it for you. If you’re really lazy, just buy the already pressed grape juice…but what’s the point in that??

Treading:
We used  a total of 12 cases of grapes and it’s highly recommended that you “tread” (stomp) the grapes by foot after every 3 cases.
Yes, that’s right! Someone needs to actually get into the vat and step on the grapes (remember Lucy?). Believe it or not, crushing by foot is still the most highly regarded method of crushing grapes. De-stem 3 cases of grapes, stomp, de-stem 3 more cases, stomp etc.

It took a bit of convincing but the lady of the house agreed to dip her sanitized sweet feet into the vat & enjoy the therapeutic benefits of treading.

After treading, using sanitized equipment, remove a quart of grapes and juice from the vat and set aside.

Add META to Vat:
Dilute 2 cups of META in 12 cups of water (1/2 tsp. per 100 lb. of grapes) and add it to the vat of grapes. Stir briefly with the sanitized puncher.

Take a Hydrometer Reading:
Take your quart of grapes and juice which you set aside and fill the hydrometer with juice only. There should be no pits or pulp. The reading should be 24%. Return the grapes and juice to the vat.

Make the Yeast Starter:
If you have ever made bread before, this step will be very familiar.

  1. Remove enough grapes and juice from the vat to fill a bucket or pail about 3/4 full, cover and set aside.
  2. Fill a one quart container with 12 ounces of warm water, cut open 6 packets of yeast and sprinkle over the water…DO NOT STIR! Use one packet of yeast for every 5 gallons of potential wine being made.
  3. After 5 minutes, add 6 to 12 ounces more warm water.
  4. After 20 minutes, fill the container 3/4 with grape juice and cover.
  5. After 60 minutes, stir, then add the yeast mixture to the pail. Cover and store in a warm area for 2 – 4 hours, stirring occasionally.
  6. The yeast will start feeding on the sugar in the grapes and the mixture will begin to bubble up as shown below. Add this yeast starter to the vat of grapes and punch down and stir using a sanitized stainless steel puncher or an unfinished dowel stick. Cover the vat with the lid and fermentation is underway!

A wine yeast will ferment your juice:

  • immediately
  • ferment all the sugar to alcohol faster and more efficiently than wild yeast
  • will settle out solids to the bottom more rapidly
  • will settle out hazes better than wild yeast
  • will form a more compact sediment or “Lees”

Punching:
Every day, 12 hours apart, punch down the “cap” of grapes with the steel puncher or dowel. You must also take a hydrometer reading daily. Punch down 2x day until the hydrometer reads 3% – 5%, that should take 3 – 6 days.

In the next episode we’ll review “punching down the cap” and I’ll show you how to add vital nutrients to the grapes which aid in the fermentation process.

~

© Giovanni Cucullo 2011

Making Wine at Home: Sanitizing

We have already covered:

Step 1: The Equipment: Getting Started

Step 2: Grape Selection

Today we’ll discuss SANITIZING.

It is MOST IMPORTANT to keep everything that comes in contact with your wine EXTREMELY CLEAN. This single point cannot be stressed enough. This is especially critical when cleaning the fermenting vessels. You don’t need to sterilize, as it is impossible to keep things sterile.

Clean first, and then sanitize the press, crusher, fermentation vats, carboys, destemmer, and anything that will come in contact with the grapes, must, or wine during all phases of the wine making process. It cannot be stressed enough how important cleanliness and sanitation are. Taking shortcuts here will undoubtedly, sooner or later, ruin an entire batch of wine. All of the time, money and labor you’ve invested up to that point will have been wasted.

BASIC SANITATION RULES:

Here are some basic rules for maintaining a sanitized winery.

  1. Keep the winery clean and free of refuse both inside and out.
  2. Inspect the winery premises, the equipment and the cooperage at least once each month.
  3. Keep all equipment clean and in good working condition. Equipment should be arranged in an orderly way and the work areas kept free of clutter.
  4. Use plenty of clean hot water, sterilizing materials and cleaning agents, and the winery should be cleaned on a regular basis.
  5. Get rid of harmful bacteria, yeast, mold, insects and rodents. Then take any measures necessary to prevent a recurrence of these pests.

CLEANING:

The first step in the process is ensuring that the equipment is clean. All new equipment should always be cleaned prior to sanitizing. It should also be cleaned up after each use. Simply rinsing out equipment after use does not always remove all the organic material. If you don’t clean your equipment after using it, you will likely find mold growing in it the next time you pull it out to make a batch of wine.


Cleaning instructions using Soda Ash and Citric Acid:

Step 1: Soda Ash
Use 3 tablespoons Soda Ash dissolved in 1 gallon of HOT water to clean everything. Run the same solution through all of your carboys (from container to container). Brush clean and then discard the solution and rinse with plain water.

Step 2: Citric Acid
Follow the same instructions as used for Soda Ash.

Step 3: META (Kills bacteria)
Finally, dissolve 4 tablespoons of META in 1 gallon of water. Swirl this solution through all of your carboys, bottles etc. and rinse thoroughly.

Check back soon for the next stage in Wine-Making when the real fun begins…We’ll sort through the grapes and give you an old school demonstration on stomping!

Thanks for stopping by!

Gio

~

© Giovanni Cucullo 2011

Making Wine at Home: Grape Selection

This is Part 2 of the Wine Making series.

Which Grape Should I Use?

One of the most common questions with regards to making homemade wine is which grape (varietal) to use. After a lot of research, dozens of questions and many conversations with friends and experts in the field, I learned that there are certain varietals which are better suited to make homemade wine. Everyone agreed that using a blend of grapes would produce the best results at home and most people agreed that Zinfandel and Syrah were the best choices due to their intense fruit flavor and especially for their resilient nature; those two grapes can withstand the rougher handling and simple equipment associated with homemade wine. They also suggested adding some Tempranillo, Malbec or Cabernet Franc to give the wine more structure.

For the final blend I decided to use:

  • 45% Zinfandel (Sonoma)
  • 45% Syrah (Sonoma)
  • 10% Cabernet Franc (Napa)


Purchasing Grapes / Finding a Supplier:

I am lucky to live near one of the most reputable grape suppliers on the East Coast – Prospero Wines, and they are extremely helpful to all novice wine makers. From October to November, they carry an outstanding selection of grapes from all over the world, most coming from Napa and Sonoma.

** Grapes average $35 to $45 per case, and one case of grapes will produce 12 bottles of wine.

Quality:

During those two months, shipments arrive every day at Prospero and you are free to stroll around the warehouse sampling all the super-ripe grapes. This is the only way to determine quality. Taste the grapes, examine them and look for bruises, impurities and insects…it’s pretty logical…if the grapes taste good and look healthy, you’re good to go! Grapes are perishable, especially late in the season when they are most ripe, so make sure you begin the wine making process within 2 days of getting the grapes home.

Here’s a picture of my wine-making partner surveying the raw product.

I think it’s important for me to note that you’re not going to produce a world-class wine here. Don’t expect Tignanello or Screaming Eagle or even a simple bottle of Mondavi. You will, however, be able to produce a wine that you can be proud of and have an enriching and fun time in the process.

Cheers!

~

Stop back next time when I’ll discuss the importance of cleaning and sanitizing.

Part 1 can be found here: Getting Started

~

© Giovanni Cucullo 2010