Gnocchi


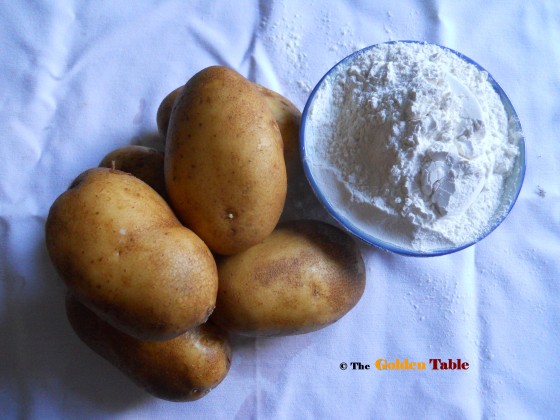
My mother made Gnocchi about once a month and they were surely one of my favorite foods. She would always use your average Idaho baking potato; but after a lot of trial and error with different recipes I have concluded that Russet potatoes produce the best texture. 

These are light as a feather! 

2 pounds Russet Potatoes
1 cup all-purpose flour plus more as needed
1 whole egg 


  1. Boil the potatoes (skin on) in a pot of water. Cook until tender. While still warm, peel off the skin and pass the potatoes through a food mill and onto a clean work surface.
  2. Add most of the flour to the potatoes and mix into a soft mixture; add the eggs and add more flour as needed. Knead the dough until you have a slightly sticky ball.
  3. Dust the work surface with some flour. Divide the ball into 4 equal pieces. Roll each piece into a rope-like shape about ¾ inches in diameter, occasionally dusting your hands and the work surface with flour to prevent sticking. Cut the rope into 1-inch pieces.
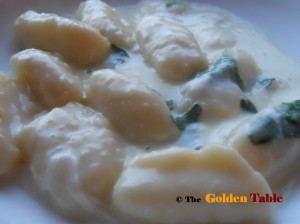
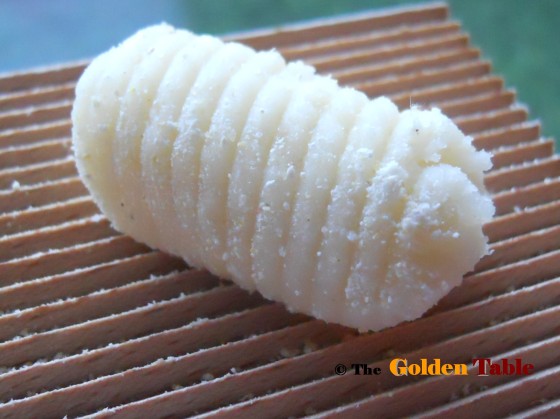
  4. Score the gnocchi pieces by flicking them off the inside of a fork. My mother often used the inside of a small wicker basket. These markings allow the sauce to cling to the gnocchi.
  5. Bring about 6 quarts of water to a boil. Drop about 24 gnocchi into the water. After they float to the top, wait about ten seconds and then remove them from the water with a slotted spoon. Set aside. Continue cooking the remaining gnocchi.
  6. Toss the gnocchi with your favorite sauce.


You Might Also Like:  
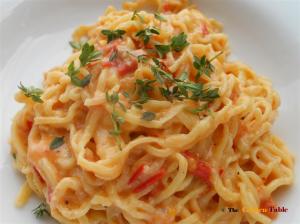
Fresh Spaghetti & Fettucine


Perfect Roast Chicken

The other day I was watching that very popular cooking network with all those famous chefs. One of the chefs mentioned that it was “not” necessary to wash a chicken before roasting and that contact with water would prevent it from becoming crisp.

My mother would be rolling in her grave if she heard that a chicken was not being washed. In fact, my mother used to soak her chicken in a pot with cold running water.

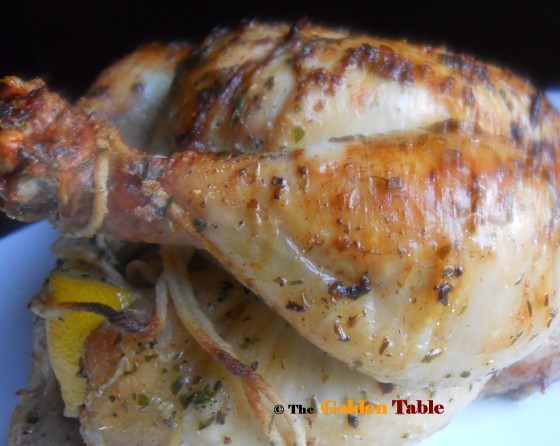
I followed my mother’s advice and took it a step further by adding lots of salt to the water. After soaking, I patted it dry and seasoned it heavily with salt and pepper, inside and out. My mother always placed a lemon and a bay leaf inside the bird with whatever fresh herbs she had in her pantry.

I generously rubbed the bird with herb-butter (the butter aids in crisping and coloring the chicken) and tied and shackled him in a simple fashion.

The roasting is easy.
For a 3 to 4lb chicken, roast it at 450 degrees for 1/2 hour, then remove the bird and give it a happy basting bath. Return the bird to the oven and roast for another 1/2 hour.

Remove from oven and allow to rest for 15 minutes on warm stove top. My mother always covered roasts loosely with some aluminum foil after removing them.

I like to de-glaze the roasting pan with some white wine or sherry, loosening all those tasty bits from the bottom of the pan. Season the gravy as desired and serve with the bird.

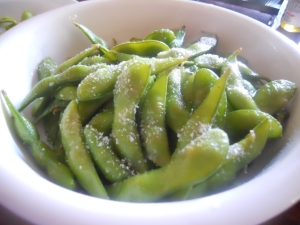
“Beans on Branches”

Edamame are green soybeans which are rich in calcium, iron, zinc, and many of the B vitamins, with a 1/2 cup serving containing about 11g of protein.

I like to boil the edamame in salted water then serve them sprinkled with additional coarse salt. The edamame in pods are eaten by holding the tip of the pod and squeezing the beans out of the pods with your fingers while simultaneously pulling them into your mouth with some of the salt. The pods are not edible, only the beans are eaten.

This is the perfect snack, and as is customary in Japan, goes quite well with a cold beer.