Making Wine at Home: Punching & Fermenting

Step 1: The Equipment: Getting Started – Early October – A list of everything you need to make wine and where to find it.

Step 2: Grape Selection – A guide to choosing the right grape.

Step 3: Sanitizing – The importance of maintaining a clean work area and proper sanitizing procedures.

WINEMAKING (October/November)

Day 1: Sorting and Treading – The first day of the wine-making process, including stomping on the grapes.

Today we pick up where we left off…

It’s the day after we sorted and stomped our grapes.

Punching & Fermentation:
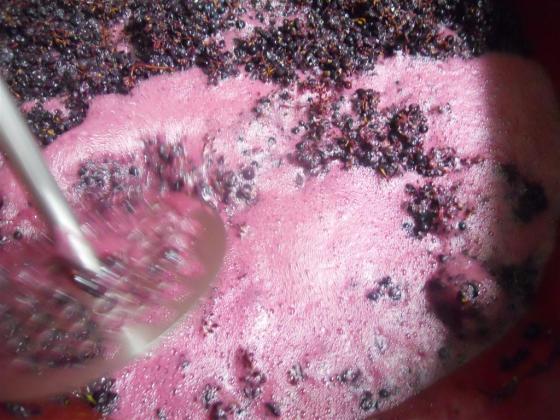
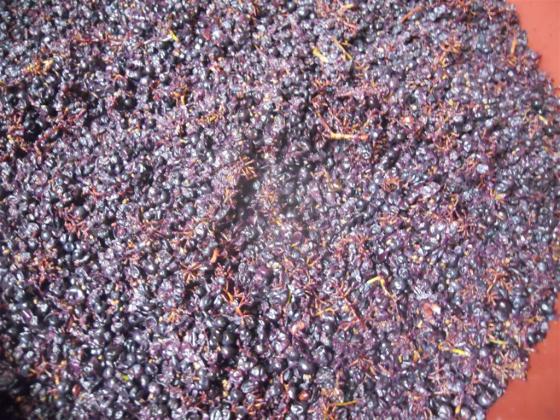
Every day, 12 hours apart, punch down the “cap” of grapes (shown above) with the steel puncher or dowel. You must also take a hydrometer reading daily. Punch down 2x day until the hydrometer reads 3% – 5%; that should take 3 – 6 days. The grapes will begin to look like this…Nice!

When the hydrometer reads between 3% and 5% it’s time to add the nutrients to the vat of fermenting grapes.


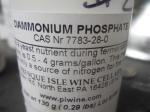
  1. DAP (Fermaid) – dissolve less than 1/2 teaspoon per gallon of potential wine in some warm water and add to the vat
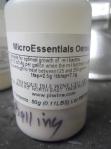
  2. Microessentials – use at a rate of 1/4 teaspoon per gallon. Dissolve in warm water and mix with some of the wine then add to the vat.
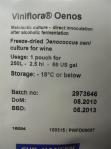
  3. Viniflora – it is very important to keep this refrigerated until use. Add this directly to the vat with minimal air contact; open the package directly into the vat. Immediately punch down the grapes and briefly stir. Wait 2 minutes then punch and stir again. Wait 2 minutes, punch and stir. Repeat this process for 20 minutes.
  4. Cover the vat and continue punching down the cap 2x day. Take a hydrometer reading every day until it reads between 0 and -1.

When the hydrometer reads 0 or -1…It’s Time To Press the Grapes!!

That’s what we’ll do next…Press the Grapes Into Juice.

 ~

© Giovanni Cucullo 2011
Making Wine at Home: Getting Started

Making your own wine at home might seem daunting at first, but once you have purchased all the equipment and have gained a firm understanding of the wine-making process you will quickly begin to embrace something that began almost 8000 years ago.

I will separate the process into 8 stages, today being the first.

 
The first critical step is to find a reputable supplier for all your wine-making needs. In Westchester County, New York, there’s a family run institution where everyone goes to for all their wine-making supplies…Prospero Winery!


Here’s a list of all the equipment you will need:

                
Above:
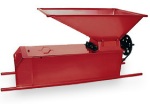
1. Table Top De-Stemmer
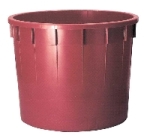
2. Fermentation Vat with Lid
 
I opted to NOT use the de-stemmer and chose to de-stem the grapes by hand. I will give a detailed explanation about that when we get there.
 
~
  
Below:
4. Stainless Steel Puncher
5. Press


Here are the nutrients, chemicals & additives you will need:

                                  
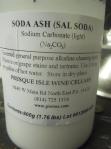
Citric Acid and Sodium Carbonate are used for sanitizing EVERYTHING!


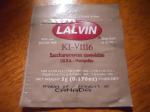
You MUST use yeast…never rely on natural yeast!
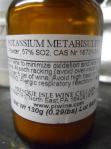
Metabisulfate is used to:
1. Create sulfur dioxide gas
2. Inhibit bacteria and wild yeasts
3. Increase the aging
4. Protect color and flavor
5. Sterilize equipment
                                      
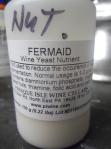
DAP (Dimaonium Phosphate) and Fermaid are foods which the yeast will feed on…It helps the wine to ferment.


MicrosEssentials Oenos and Viniflora are nutrients which contain a mixture of organic proteins that help induce Malolactic Fermentation.
 
 
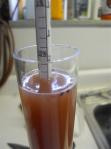
This is a hydrometer. It’s used to measure the amount of sugar in the wine and it will tell you when you should press the grapes into juice.


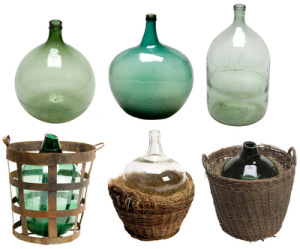
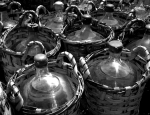
You will need Demijohns (carboys) to store the wine while it ferments.
They come in different shapes and sizes but I recommend the standard 5 gallon water-cooler type…just make sure you use glass and not plastic.


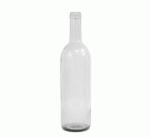
You will also need additional bottle sizes for later in the wine-making process when you will have odd amounts of wine.


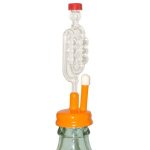
You will need rubber corks (bungs) and airlocks for each bottle.


Get yourself a syphon kit for transferring wine from jar to jar.


~

Other items:

     Pails / Buckets

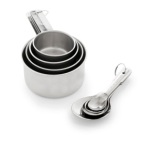
Measuring Cups and Spoons


Strainer


Clear Packing Tape

~

And of course…
Grapes!


Check back soon for the next stage in Wine-Making when we’ll discuss the grapes and how to choose the right one for you!

Thanks for stopping by!

Gio

~

© Giovanni Cucullo 2010